
In Kieran’s lesson we used a photo of a robin and changed it into a poly image (the use of triangles to make up an image). First I duplicated the background layer then I added a grid by going to view then show, before adding it. I proceeded to open “Guides, Grids and Slices”, when the window had opened I changed the gridlines to 10 pixels then changed the subdivision to 1. I also made the style of the lines to dashed lines. This would allow me to accurately place the triangles so they wouldn’t overlap or have spaces.
I changed the original lasso tool to a polygonal lasso tool so I would be able to create the triangles. I had to change the actual Mac Preferences to allow me to use the F1 key which I had set in the action I had created. An Action is an somewhat new addition to Photoshop that allows me to set up a sequence of action under one button press. This allowed me to create a new layer, then average the selection I had made.
Original Image:

Poly Image:
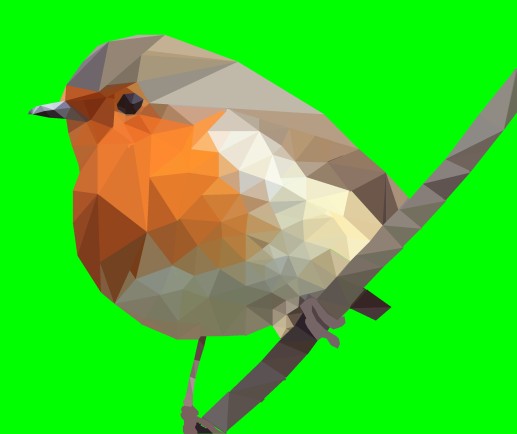
I struggled greatly at first when it came to creating the bird as I didn’t understand all the steps, but by using the tutorial I learnt how to create the image above.
